
Configuring a Headless Static Site using SSG into a Sitecore Multisite solution
- Authors

- Name
- David Goosem
In this article we'll take a look at how you might want to add a SSG Head into a multi-site solution. What the key points of difference are and how you can configure your Headless solution to export to static files which you can host on any webserver that can serve JS, CSS and HTML.
If you haven't already had a look at my previous post here it's probably worth a quick look to ensure you're across the way in which we're setting up our multi-headed multi-site Front End solution.
npm init sitecore-jss@20.0.3 nextjs (where @20.0.3 is your required target version)
If you followed along with this the only difference we're making here with the initial set up /configuration of your new SSG Sitecore Head is that we're going to use the Sitecore CLI tooling to spin up a SSG application instead of the SSR one and ensure that all the components we 'share' between sites do not include any getServerSideProps methods. This might mean you need to target and set up specific locations to share components from rather than just pointing it directly to the /src/components directory when you configure the generate-component-factory.ts to enable sharing.
Sharing between SSR and SSG you say... How can that be!?
Sharing between SSR and SSG sites
Before we get started, it's worth noting that it IS possible to share some functionality between a SSR and SSG applications in certain circumstances. Notably on the Sitecore-side, almost all of the Sitecore template inheritance/architecture is able to be shared. At the end of the day, this is just storing data in relevant field types so if you have common/obvious low level components like your Rich Text, CTA Button, Banners and the like as components, why not share those templates?
In addition, it IS possible to share entire components between SSR and SSG applications but ONLY if you haven't explicitly added "on getServerSideProps OR have a need to add getStaticProps to the existing component.
The default Static Site Generation with Sitecore Headless Services and NextJS is set up to work by simply doing a look up using the sitemapFetcher logic to go and grab all the "pages" from Sitecore and interating over each of them, generating the necessary static files for each "page" at BUILD TIME. So at build time, the application will communicate with your Sitecore Backend and fetch all the renderings/layout and content data and construct static pages along with the CSS and JS and json files it needs to work.
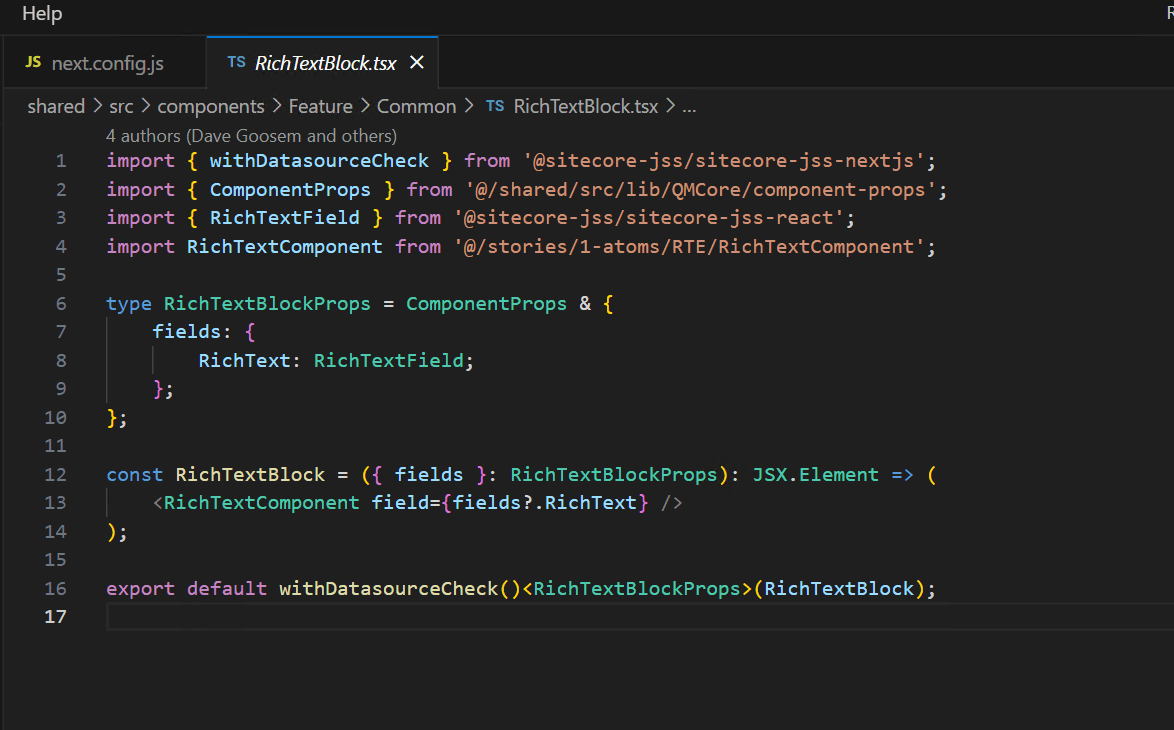
Given what we now know, this means that as long as we're not explicitly telling the application that we NEED to request the data server side, during build, one of your existing components would therefor work. Let's take a look at our super simple RichText component where we can see that it doesn't include the getServerSidePros method. This means that at build time, it will happily fetch the data and be usable in our Static site:
Static Site Application items of note
Navigation
If you're building any kind of navigation, you'll need to make sure you're using absolute URLs instead of relative paths. IE. Where in the past you might have set a navigation link to be /page1/childpage you will instead need to ensure you are using https://mysite/page1/childpage for the links to be guaranteed to work. This just avoids pain in some hosting scenarios.
Content Authoring Considerations
If you consider that Static Site Generation is generating static files at Build time, this should be pretty obvious but a Static Site doesn't offer us the ability to use Inline Editing (eg. Experience Editor) as there's no 'live' rendering engine which means the Authors don't have access to an easy page construction approach. For this reason, it's a 'nice' idea to firstly configure a "preview" site for Content Authors along with a "bake" button which triggers the preview build. In our scenario we're using a Vercel Hosted Preview site and we've configured a simple deployment WebHook which we have then added to a custom Ribbon Button for Content Authors to be able to run out a Preview build to review their changes. This is particularly handy if you're target hosting environment is an Offline Kiosk Device or something like that where your authoring lifecycle would otherwise be very long-winded to make changes and review / iterate.
Local Development / Authoring Considerations Continued..
As an extension of the above consdieration, it's worth noting that if you can get away with it, it's possible to run your application in "connected" mode still if you design things to allow for it. This might be envirionment variable flags to switch usages of getStaticProps out or similar. This can then be used to provide access to authors and developers to use the Live Inline Editing tooling which is especially helpful for developers /authors to construct pages.
Exporting your Static Site
As documented here, these are the basic steps you can should follow to export your Front End Application.
It's as simple as following the steps outlined in this linked Sitecore Doco page to ensure:
- Media Library urls include the server URL (same issue we discussed above about ensuring you don't have only relative URLs). This is a simple Sitecore config Patch /update.
- Set up a new EXPORT_MODE env variable to be used to allow us to switch bewteen pure export mode or not (useful if you're looking to configure preview/authoring environments as described above)
- Use this variable in your next.config.js file to include/exclude some settings we need based on if we are building as static export or not
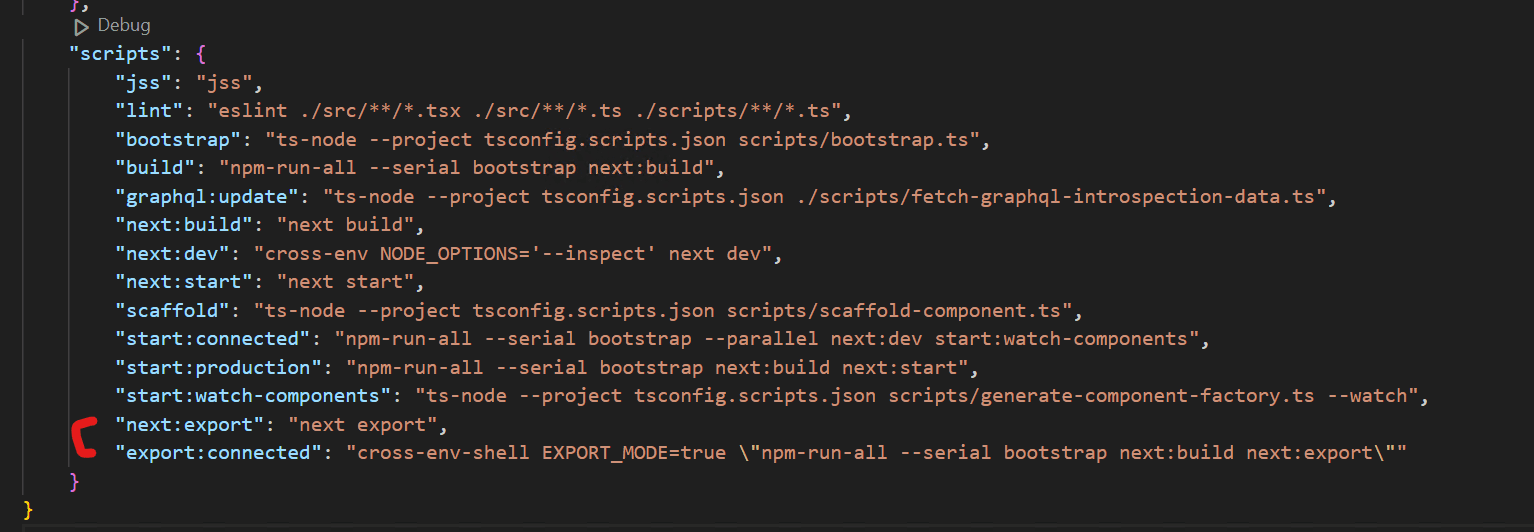
- add some new package.json 'scripts' to the list for
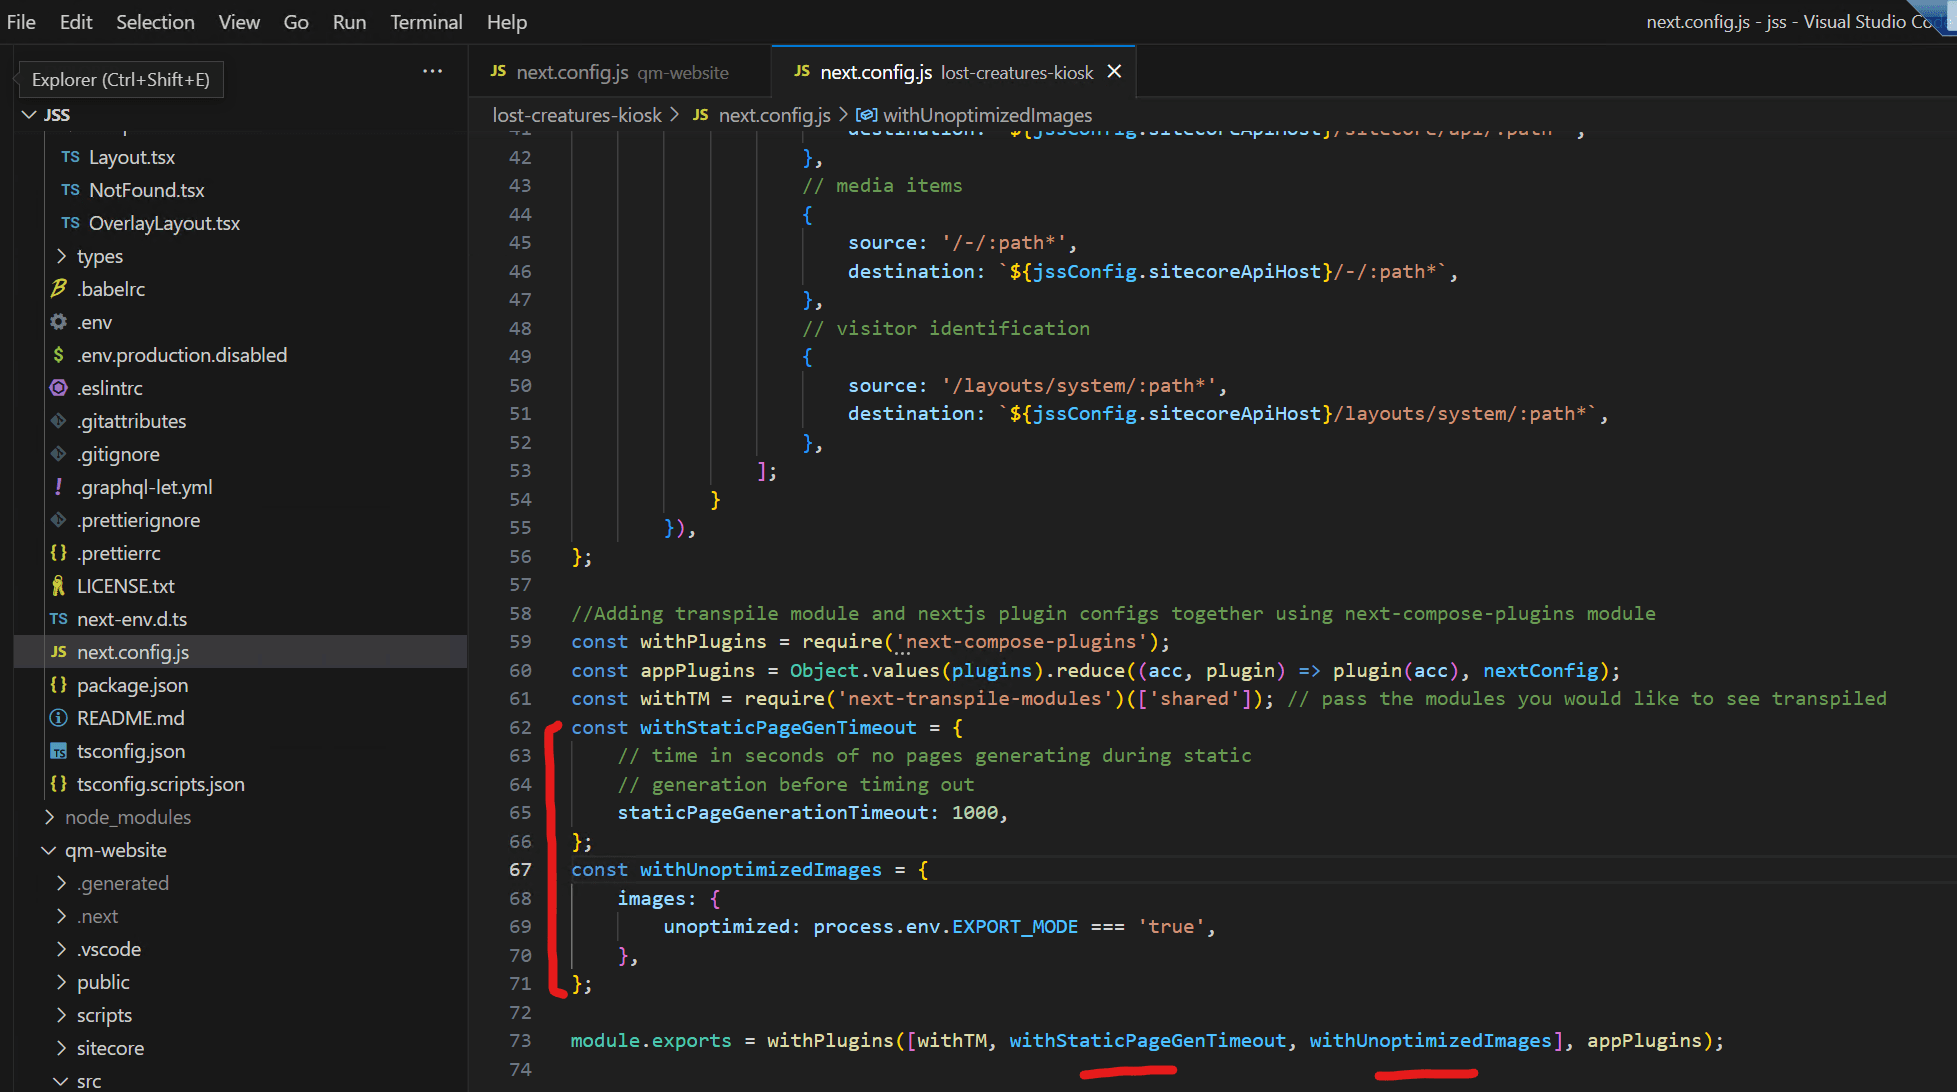
"next:export": "next export"and"export:connected": "cross-env-shell EXPORT_MODE=true \"npm-run-all --serial bootstrap next:build next:export\"" - Disable any usage of Image Compression you might have set (eg. if you've used Next/Image components). I've found a simple way to do this is to jump into your
next.config.jsonce again and add another property which is enabled by theEXPORT_MODEenv variable that sets the unoptimised flag to true. You'll also see I have increased the staticpageGenerationTimeout to give me more than 1 min of build time for my pages before it times out. Given we are generating static pages, I'm totally fine with waiting a bit longer for my build as I know the final result is a static/speedy page (see below):
Finally when you are running your CI/CD pipeline, if you're deploying it to your own hosting solution, or need to test locally, you can simply run this command:
jss export:connected or npm run export:connected
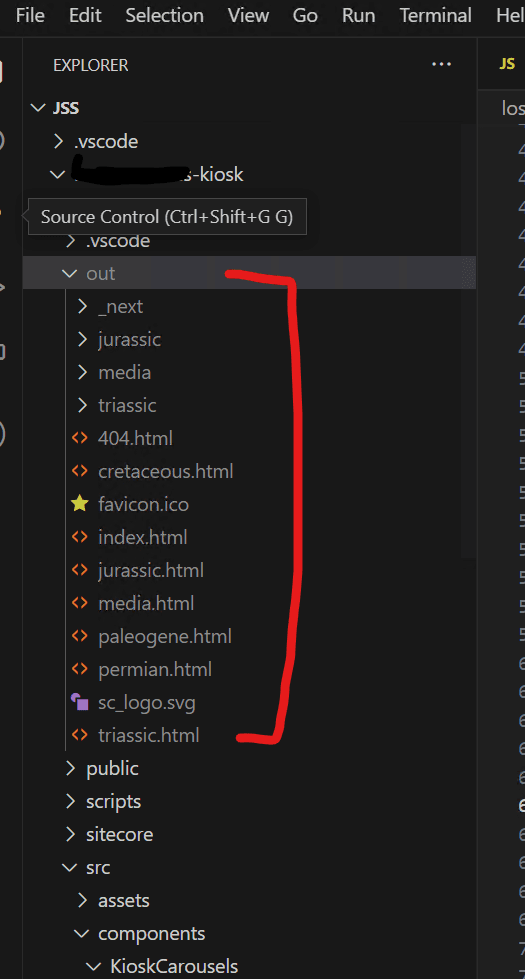
This is similar to what you would normally use for SSR local builds where you run start:connected instead. Pretty neat. The output of your build is then output to the "/out" directory where you can pick it up and run it out of any webserver that can serve JS/CSS/HTML.
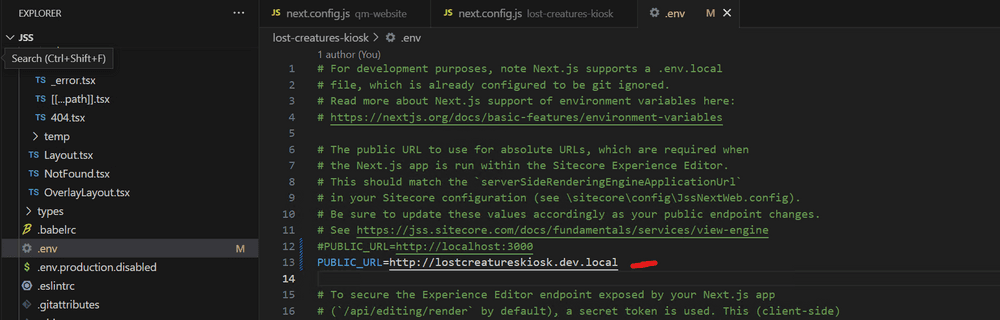
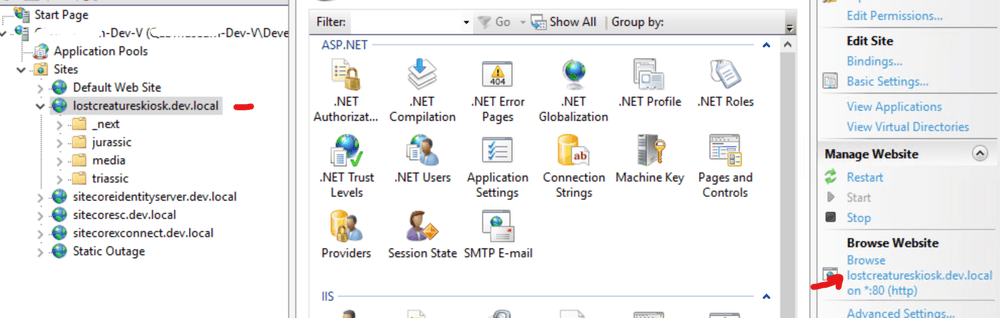
As a simple test I have set up a new IIS Slot on a development machine and point it to the /out directory to verify it works as it should. Note, you will need to ensure you pass the correct url for your target hosting inside your environment variables so that the fully generated (non-relative) links and assets links will work:
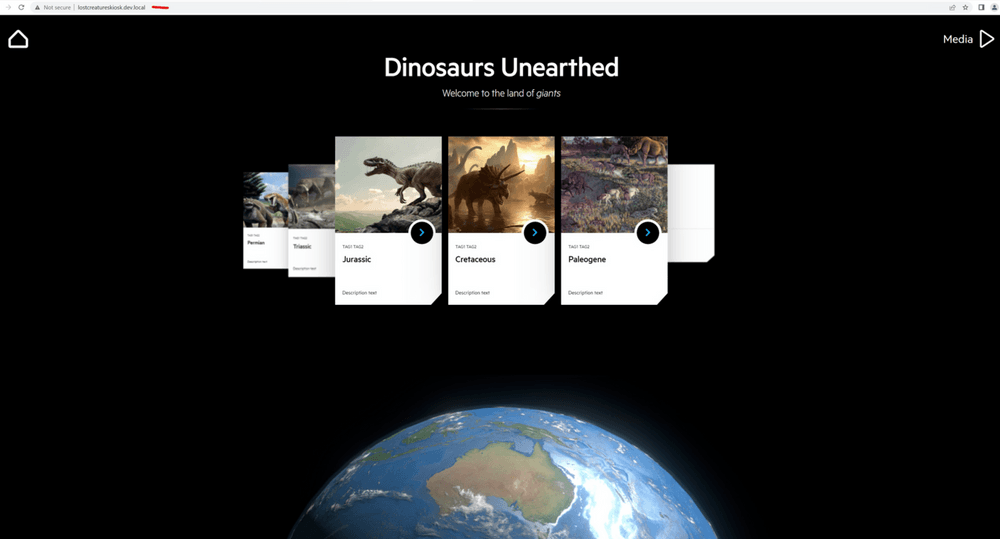
Voila!